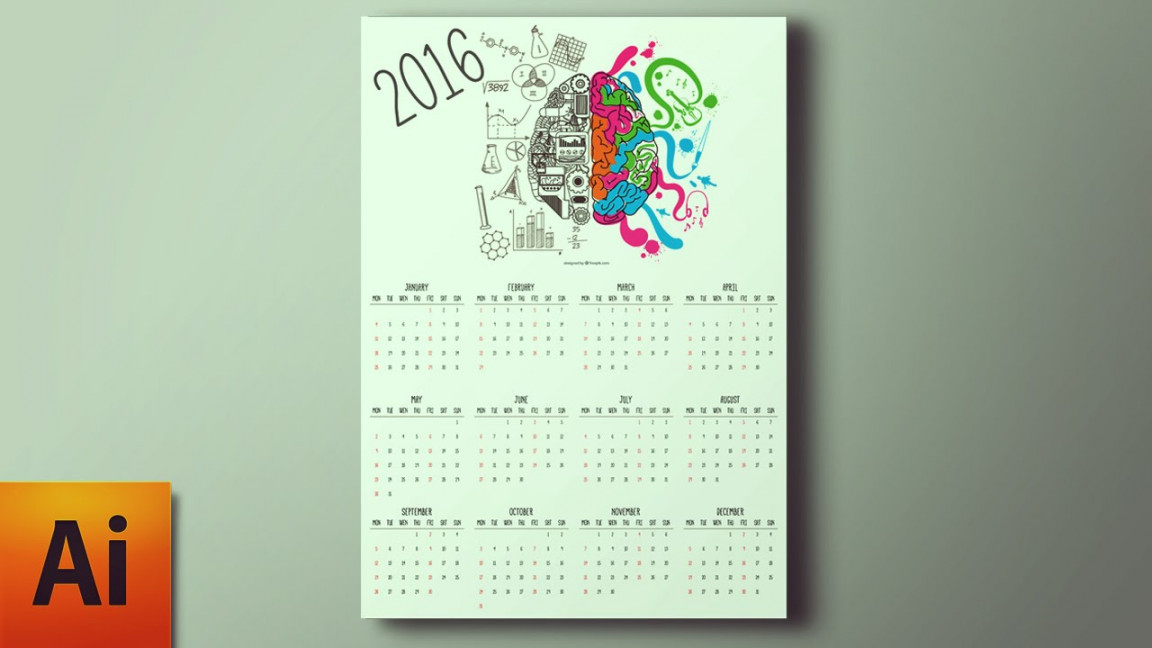
How to Create a Calendar With Photoshop
Open the “File” menu and choose “New” to set the parameters for your calendar document. Set the dropdown menus next to the width and height fields to “Inches,” and enter “11” as the width and “8.5” as the height. Set the resolution to 300 and select either RGB or CMYK as the color mode, depending on the best choice for your printing device or output intent. Set the background contents to “White.” Enter a name for your file and click on the “OK” button to create the document.

Press the “F” key twice to place Photoshop in “Full Screen Mode With Menu Bar,” displaying your file within a gray pasteboard that surrounds the live document area. Press “Ctrl-R” to display document rulers if they’re not visible.
Double-click on either the horizontal or vertical document ruler to bring up the Preferences dialog box with the “Units & Rulers” section visible. Verify that your rulers use pixels as their unit of measure and that Photoshop will measure your type in points. Click on the “OK” button to return to your document.

Press “Alt-Ctrl-0” to view your file at actual size. Press the “Home” key to scroll to the upper left corner of the document.
Open the “View” menu and turn on the “Snap” feature, or verify that the item for “Snap” shows a check mark in front of it, indicating that it’s active. Press “F8” to open the Info panel if it isn’t already visible. Watch the Info panel as you hold down the “Shift” key and drag a ruler guide down from the horizontal document ruler. Release the guide when its position reaches 100 pixels. Create two more horizontal ruler guides, one at 210 and one at 320 pixels.

Activate the “Type” tool in the Photoshop toolbox. Open the “Window” menu and choose “Character” to reveal the Character panel. Set the font family to “Myriad Pro,” the style to “Regular” and the size to “12.” Click on the color swatch to reveal the “Set Text Color” dialog box. Set the hue to zero degrees, saturation to 100 percent and brightness to 40 percent, which yields a dark red. Click on the “OK” button to complete your color selection.
Click on your document live area and type the word “MONTH” in capital letters. Press “Ctrl-A” to select the entire word and “Shift-Ctrl-R” to align your text flush right. With the type still selected, Shift-click between the “T” and the “H” to deselect the last letter of the word. Enter “450” as the tracking value in the Character panel. Press “Ctrl-Enter” to create your type.

Click on the color swatch in the Character panel to reveal the “Set Text Color” dialog box. Set the saturation and brightness to zero percent, changing the color to black. Click on the “OK” button to complete your color selection.
Click on your document live area and type “S M T W T F S” with spaces between the capital letters. Press “Ctrl-A” to select the text and “Shift-Ctrl-R” to align it flush right. With the type still selected, hold down the Shift key and press the left arrow key to deselect the last letter. Enter “450” as the tracking value in the Character panel. Press “Ctrl-Enter” to create your type.
Click on your document live area and type seven pairs of zeros separated by a space after each pair except the last. Press “Ctrl-A” to select the entire piece of text and “Shift-Ctrl-R” to align your text flush right. Enter zero as the tracking value in the Character panel, then select the first space and set its tracking value to “450.” Copy the space to the clipboard, then highlight each of the other six spaces in your text and replace each by pasting in the space you copied.
Press “Ctrl-A” to select the entire piece of text again and copy it to the clipboard. Press “Shift-Enter” to add a soft carriage return at the end of the line of text, then paste in a second copy of the first line. Repeat the process of adding soft carriage returns and pasting in text until your block of text contains five lines. Press “Ctrl-A” to select your five-line block. Set its leading value to “110 pixels” and press “Ctrl-Enter” to create your type.
Open the “Window” menu and choose “Layers” to reveal the Layers panel. Click on the name of your first text layer to select it, then Shift-click on the name of the third text layer to add all three to your layer selection. Open the “Layer” menu, locate its “Align” submenu and choose “Right Edges.”
Activate the “Move” tool in the Photoshop toolbox. Shift-click on the name of the “Month” layer in the Layers panel to select it and deselect the other layers. Place your cursor above and to the right of the word “MONTH,” hold down the “Shift” key and drag the text vertically until the line that defines its baseline turns red, indicating it aligns with the first of your guide rules. Shift-click on the name of the “S M T W T F S” layer and set its baseline on the second guide. Shift-click on the name of the layer that contains your rows of zeroes, then align it to the third guide rule. Using the Shift key when you move your type assures that it moves only in one direction, leaving its horizontal alignment undisturbed.
Select all three type layers in the Layers panel. Open the flyout menu at the top right corner of the Layers panel and choose “New Group From Layers.” In the dialog box of the same name, set the mode to “Normal” and click on the “OK” button to create your group.
Press “Ctrl-T” to activate “Free Transform” mode. Click on the top left anchor on the alignment proxy in the Options bar, which forces Photoshop to originate your transformation from that location on your grouped type. Enter “0.25 in” as the X and the Y coordinate for your group and click on the “Commit Transform” check mark in the Options bar.
Hold down the “Alt” key and drag your grouped text to the right with the “Move” tool, creating a duplicate group. Alt-drag the duplicate to make a second copy, then Alt-drag that copy to make a third and final copy. Press “Ctrl-T” to enter Free Transform mode. Set the transform proxy to the top right corner, the X position to “8.25 in” and the Y position to “0.25 in” to position the last copy with its right edge 0.25 inches from the top and right edges of the document area.
Click on the name of the original group in the Layers panel, then Shift-click on the name of the last copy to select all four groups. Open the “Layer” menu, locate its “Distribute” submenu and choose “Horizontal Centers” to place an equal amount of horizontal space among the grouped items.
Select all four type groups in the Layers panel. Hold down the “Alt” key and use the “Move” tool to drag a duplicate of the three groups down below the original. Press “Ctrl-A” to select your entire document area. Activate the “Marquee” tool in the Photoshop toolbox. Open the “Layer” menu, locate its “Align Layers to Selection” sub-menu and choose “Vertical Centers” to move the duplicate midway down the document area. Press “Ctrl-D” to deselect your selection.
Switch back to the “Move” tool. Hold down the “Alt” key and drag the duplicate set of months down the document area to create one more copy. Press “Ctrl-T” to enter “Free Transform” mode. Set the transformation origin to the bottom center of the proxy and set the Y position of the bottom of the type to “0.25 in.” Click on the “Commit Transform” check mark in the Options bar to complete the process.
Add a type layer positioned along one of the edges of your file to state the year. Use a larger type size to emphasize the year or the same size as the rest of your type to give it less importance.
Save your project as a Photoshop PSD file so you can customize it for any year’s data. After Photoshop finishes saving your file, reference a calendar for the relevant year so you can identify the correct arrangement of dates relative to days of the week.
Activate the “Type” tool and edit the red text on the “MONTH” layers to replace the placeholders that say “MONTH” with the names of the individual months. Replace the pairs of zeros on the date layers with the dates of the individual months. Save your file under a new name to preserve your template for future use.


