How to Create a Selection From Text With Photoshop
When you set type in Adobe Photoshop as part of an informational graphic, image montage or other project for your business, you may need to create a selection equal in size and shape to the text on your type layer. Unlike early versions of Adobe Photoshop, which created type as pixels, today’s version of the image-editing software creates type layers that you can edit and duplicate. Photoshop offers multiple non-destructive ways to make type-shaped selections. Which method suits your project depends on how you set your type.

Type Mask Tools
Click and hold on the “Type” tool in the Adobe Photoshop toolbox to reveal the nested tools beneath the regular Horizontal Type tool. Select either the “Horizontal Type Mask” or “Vertical Type Mask” tool. The former creates type on a horizontal baseline, while the latter creates vertical type in columns.

Set type parameters in the Options bar, including typeface, style, size, anti-aliasing method and alignment. Although you can set a typeface color for the Type Mask tools, this setting has no effect on the text you create.
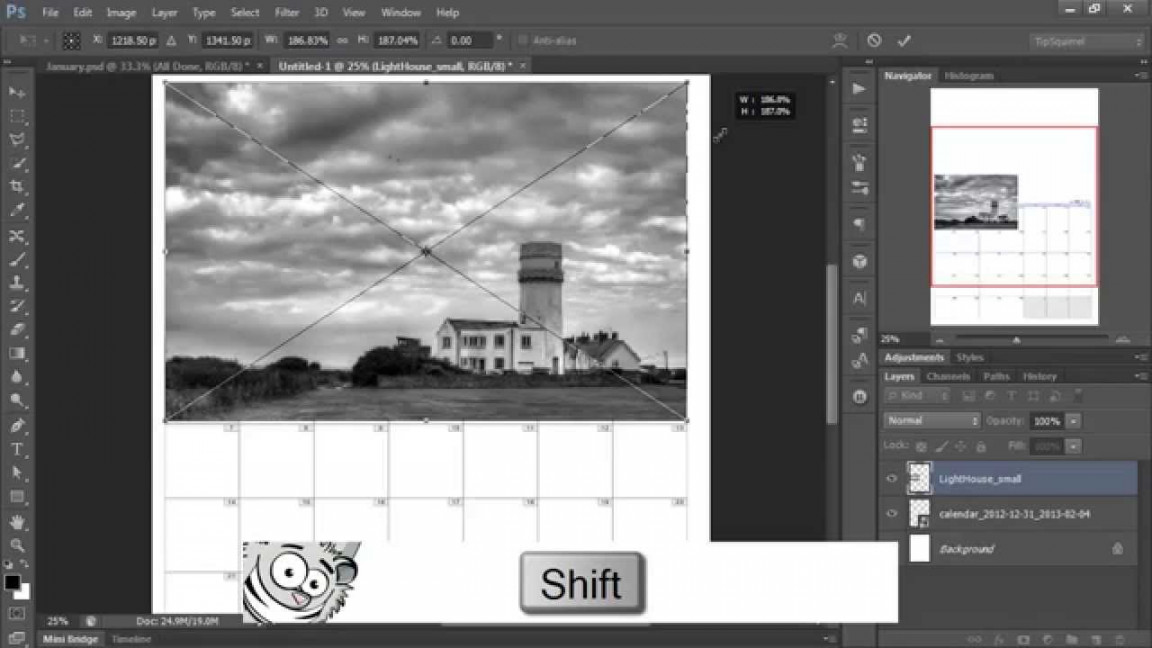
Click on the live area of your document to create point text, or click and drag to create a type area for paragraph text. Type or paste your text, and click on the unlabeled “Commit” button – identified by its check mark – to complete the process. Adobe Photoshop creates selection outlines that match the size and style of the type you set, without creating a type layer.

Regular Type Layer
Press “T” to select the Horizontal Type or Vertical Type tool in the Adobe Photoshop toolbox. If you previously selected another version of the Type tool, press “Shift-T” until the cursor changes to the upright or sideways I-beam with surrounding dotted-line square denoting the Horizontal Type and Vertical Type tools, respectively.

Set type parameters in the Options bar, including typeface, style, size, anti-aliasing method and alignment. Click on the color swatch to bring up the Color Picker and choose a different color than the current foreground color displayed in the Photoshop toolbox.
Click on the live area of your document to create point text, or click and drag to create a type area for paragraph text. Type or paste your text, and click on the unlabeled “Commit” button – identified by its check mark – to complete the process.
Open the “Window” menu and choose “Layers” to reveal the Layers panel. Hold down the “Ctrl” key and click on the icon of the type layer you just created. Photoshop loads selection outlines that correspond to the shape of your type.


